

 Marketing materials

 Photo print


 Events and outdoor merchandise



 Labels and stickers

 Clothing

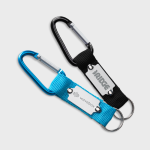



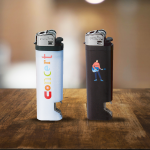
 Promotional and giveaway
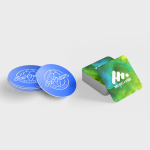


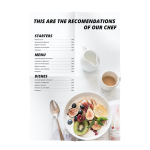
 Hospitality and retail
How to prepare print-ready artwork: the 7-point checklist
Bleed, safe area, resolution, colour, fonts — the seven things that decide whether your file prints exactly as it looks on screen.
Most printing problems are decided before anything reaches a press. A logo that sits too close to the edge, a photo that looked sharp on a phone, a black that comes out grey — almost all of them come from the file. The good news: getting a file right is a checklist, not a talent. Run through these seven points before you upload and your print will look the way you expect.
1. Set the document to the finished size
Start with the exact trim size of the product — for a standard UK business card that is 85 × 55 mm, for an A5 flyer 148 × 210 mm. Designing at a different size and scaling later is the most common cause of stretched logos and soft text. Every product page lists its sizes, and the downloadable templates are already set up correctly.
2. Add 3 mm of bleed on every side
Printers print on larger sheets and then cut them down. The blade can move by a fraction of a millimetre, so anything that runs to the edge of your design — a background colour, a photo, a stripe — needs to extend 3 mm past the trim line. That extra area is the bleed. Without it, you risk a thin white line along one edge.
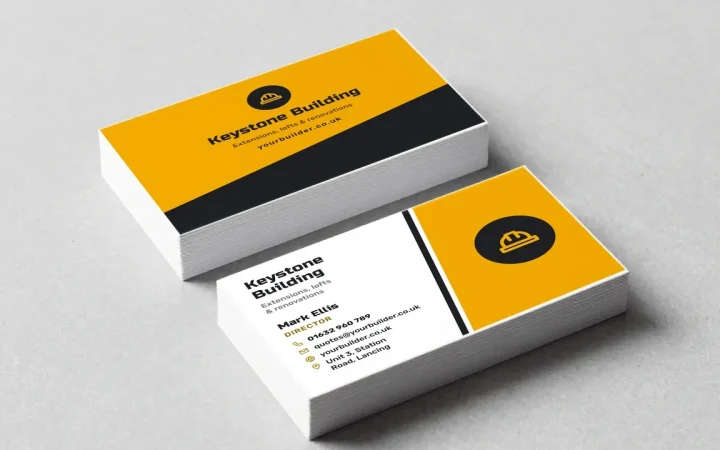
A business card with bleed is 91 × 61 mm in your design software; it is cut back to 85 × 55 mm.
3. Keep important content 4 mm inside the edge
The same small movement that makes bleed necessary means text and logos should stay away from the edge. Keep everything that matters at least 4 mm inside the trim line — the safe area. Phone numbers and email addresses are the usual casualties when this is ignored.
4. Use images of at least 300 dpi at the printed size
Screens are forgiving; paper is not. An image needs around 300 pixels per inch at the size it will be printed. A photo that fills an A5 flyer needs roughly 1,750 × 2,480 pixels. Logos are best supplied as vector files (PDF, EPS or SVG), which stay sharp at any size.
5. Work in CMYK, not RGB
Screens mix light (RGB); printers mix ink (CMYK). Very bright RGB colours — electric blues, neon greens — cannot be reproduced exactly in ink and will look duller on paper. Convert to CMYK before you export so there are no surprises. For large areas of black, a “rich black” (for example C40 M30 Y30 K100) prints deeper than plain black; small text should stay 100% K only, so it remains crisp.
6. Mind the minimum sizes
- Text: 6 pt is the practical minimum; 7–8 pt is kinder to readers.
- Lines: at least 0.25 pt, or they may disappear.
- Borders on small items: a thin frame close to the edge of a business card exaggerates any cutting movement. If you want a border, make it generous.
7. Export a PDF with fonts embedded
A PDF is the safest format to upload: it keeps your layout, colours and fonts exactly as you set them. Make sure fonts are embedded (or converted to outlines) and that the PDF includes the bleed. JPG and PNG files are accepted for simple designs, but text in them is only as sharp as the image resolution.
Quick checklist before you upload
- Document at the finished size, plus 3 mm bleed on every side
- Text and logos at least 4 mm inside the edge
- Images 300 dpi at printed size; logos as vectors
- CMYK colour; small black text 100% K
- Text 6 pt or larger; lines 0.25 pt or thicker
- Exported as PDF with fonts embedded
Not sure your file ticks every box? Download the size template from the product page and place your design inside it — or choose our design service and we will prepare the artwork for you.
Ready to print?
Pick a product, choose your options and upload your artwork — or ask us to design it for you.